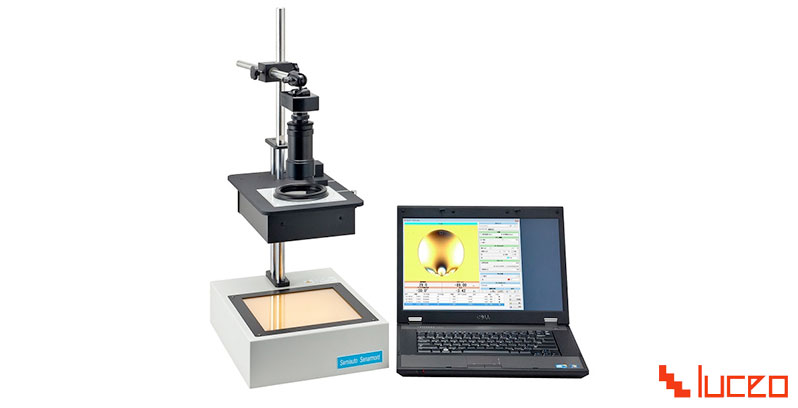
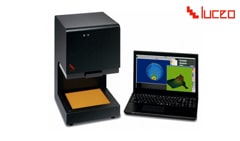
LSM-9000LE
-Full automatic type
-Quantitative measurement of residual stress in glassware
-Strain inspection for plastic products
-Phase difference measurement for optical film
-Strain Detection for crystalline material

Luceo | polarizing plate, wavelength plate, polariscope, polarimeter, optical sensor,glass surface stress meter
More about luceo
The semi-automatic Senarmont LSM-7000LE, is an instrument to make visible strains inside of a transparent object, and thereby quantitatively measure those strains.
Senarmont method is an inspection method for measuring strains, wherein an operator turns an analyzer so that the brightness of an object to be measured in changes from the brightest state to the darkest state to thereby measure strains. With the inspection instruments of the visual observation type in the past, however, it has been problematic that variations in the measured brightness may occur due to difference in the condition during the measurement and in the operators.
With this detector, brightness of an image is displayed with a digital value on the monitor so that the mode of determining the darkness and brightness of an image is changed from sensory evaluation to digital evaluation. Accordingly, decision of a turning angle at which an image became the darkest may be made easily and accurately, and errors in the measurements of the retardation are reduced in comparison with instruments of the visual observation type.
With this detector, it is possible to observe strains according to sensitive tint color method having been often used for strain observations, and it is further useful to confirm the direction of stress.
This detector is equipped with a zoom lens, so that it is possible to increase the magnification of an image to inspect small samples. Moreover, this detector may be connected with a PC, and it is therefore feasible to record the measured data and observed images with ease.
This detector uses a high intensity LED as a light source and is designed for the type capable of using over a long life and consuming less power. Accordingly, labors required for maintenance in respect of replacement of the light source and running cost required for the detector can be reduced.
Light from a light source is converted to the linear polarized light with use of a polarizer. When a sample having strains is placed at a defined angle in the linear polarized light, a phase difference occurs between X component wave perpendicular to the linear polarized light and Y component wave to generate an elliptic polarized light.
Then, when the elliptic polarized light passes through a 1/4 wave plate, the elliptic polarized light is converted to the linear polarized light, the direction of the polarizing axis of which is different from that of the original linear polarized light.
Turn the analyzer from the starting position to cause the converted linear polarized light to be the most dark condition where the penetrating axis of polarized light is made orthogonal.
Since this turned angle is in a proportional relation with the phase difference due to strains in a sample, it is possible to obtain the phase difference according to a calculation equation.
Not only usable dimensions of the polarizer and analyzer, the height of sample stand also can be adjusted to the requested dimensions after checking the working distance and image angle by the zoom lens. Please feel free to contact us, if you have any requests for other customizing.
The sample which has asperity or curve like a lens should be inspected with soaking in immersion liquid. We can make various kinds of glass cells according to customer's individual needs.
The sample is limited to transparent material. It may be unavailable for law transmittance or law transparency sample.
| Size(body) | W280 x D375 x H730 mm |
|---|---|
| Weight (body) | 16kg |
| Effective Dimension of Polarizer (PL) | W200 x D200 mm |
| Effective Dimension of Analyzer (AN) | φ80 mm |
| Length between PL and AN | 26 ~ 240 mm |
| Inspection Method | Sensitive Tint Color Method Senarmont Method |
| Repeat accuracy (SD) | about ±1.5 nm (Analyzer rotation angle ±0.5°) |
| Resolution | about 1.5 nm (Analyzer rotation angle 0.5°) |
| Camera view field | Max. 176×132 mm Min. 6.9×5.2 mm |
| Light Source | White LED 3,000K |
| Power Consumption (body) | 19.5W |
| Power Source | AC 100 ~ 240V 50/60Hz |
| Component | Main body, CCD camera, Zoom lens, PC, Cable |
| Accessories | Main body cover, Bar to check the direction of stress (glass and acrylic) |
| OS | Windows7 (64bit) / Windows 8 (64bit) |
Get in contact with our friendly support staff.
We will be happy to assist you in all matters of your purchasing requirements and are looking forward to your inquiry.
All fields are required.

-Full automatic type
-Quantitative measurement of residual stress in glassware
-Strain inspection for plastic products
-Phase difference measurement for optical film
-Strain Detection for crystalline material
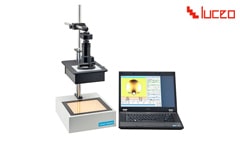
-Semi automatic type
-Quantitative measurement of residual stress of glassware
-Strain inspection of plastic products
-Phase difference measurement of the optical film
-Check whether there is any strain of crystalline material, etc.
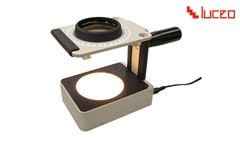
-Handy type
-For the edge of sheet glass
-For small glass product
-For small plastic product

-Midium type
-For the edge of sheet glass
-For small glass product
-For small plastic product

-Midium type
-For the edge of sheet glass
-For small glass product
-For small plastic product

-Midium type
-For the edge of sheet glass
-For small glass product
-For small plastic product
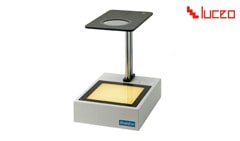
-Midium type
-For the edge of sheet glass
-For small glass product
-For small plastic product

-Midium type
-For the edge of sheet glass
-For small glass product
-For small plastic product
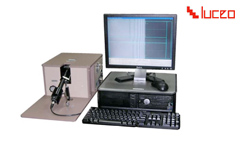
-Measures glass thickness automatically by using the Glass Thickness Meter
-Measures the surface stress in wide angle using the Wide Angle Camera
-Output of measured data

-Renewal
-Built-in Camera
-No Battery USB powered
-Improvement of stability